Sunday, September 29, 2013

The Bramble

We made these jelly shots for a family get together this weekend and I'm in love with them. I'm also smitten with the whole idea of gourmet, alcohol enhanced jello bites. I think it might be a new hobby.


These are called Brambles. They have a bottom gin and lemon layer and a top blackberry layer. You can find the recipe over at the JellyShotTestKitchen.

This is our first attempt about six months ago. Unfortunately, I spilled most of the gin layer on the kitchen floor so it's almost non existent here. They were still delicious. The yellow jelly with the grapefruit is the Paloma from Jelly ShotTestKitchen.  It had a bitter bite and I'm a sweet toothed gal, but it was another great recipe from the same site.

Do you have a favorite "bring to the party" dish for Halloween?
We'd love to hear yours!

Thursday, September 26, 2013

Here Comes The Bride!


Couldn't resist a little classic monster fun. She might be a card or some gift wrap when added to a soon to come group of old timey ghouls. 


I used my STAEDTLER Pigment Liner 0.5 to outline the design and highlight the details. I'm having a ball with this years Halloween designs. There'll be more to come soon!

Tuesday, September 24, 2013

Halloween Watercolour

I've been playing with my STAEDTLER Karat Aquarell watercolour pencils. Thinking about some seasonal cards and decorations. Here's what we've got so far.

I'm thinking about table settings and maybe some pop up cards. 


The banners should be great for table settings, maybe scrawled across mini pumpkins? 


I have plans for pop up cards using this wing and some photo transfers on STAEDTLER fimo clay. 
I'll let you know what happens.
:D


Saturday, September 21, 2013

Zucchini Pear Quick Bread


This recipe makes two proper large loaf pans of bread plus one small round cake pan.
The small round cake pan comes out first and is usually devoured by the time the larger loaves come out.

Preheat oven to 350 degrees
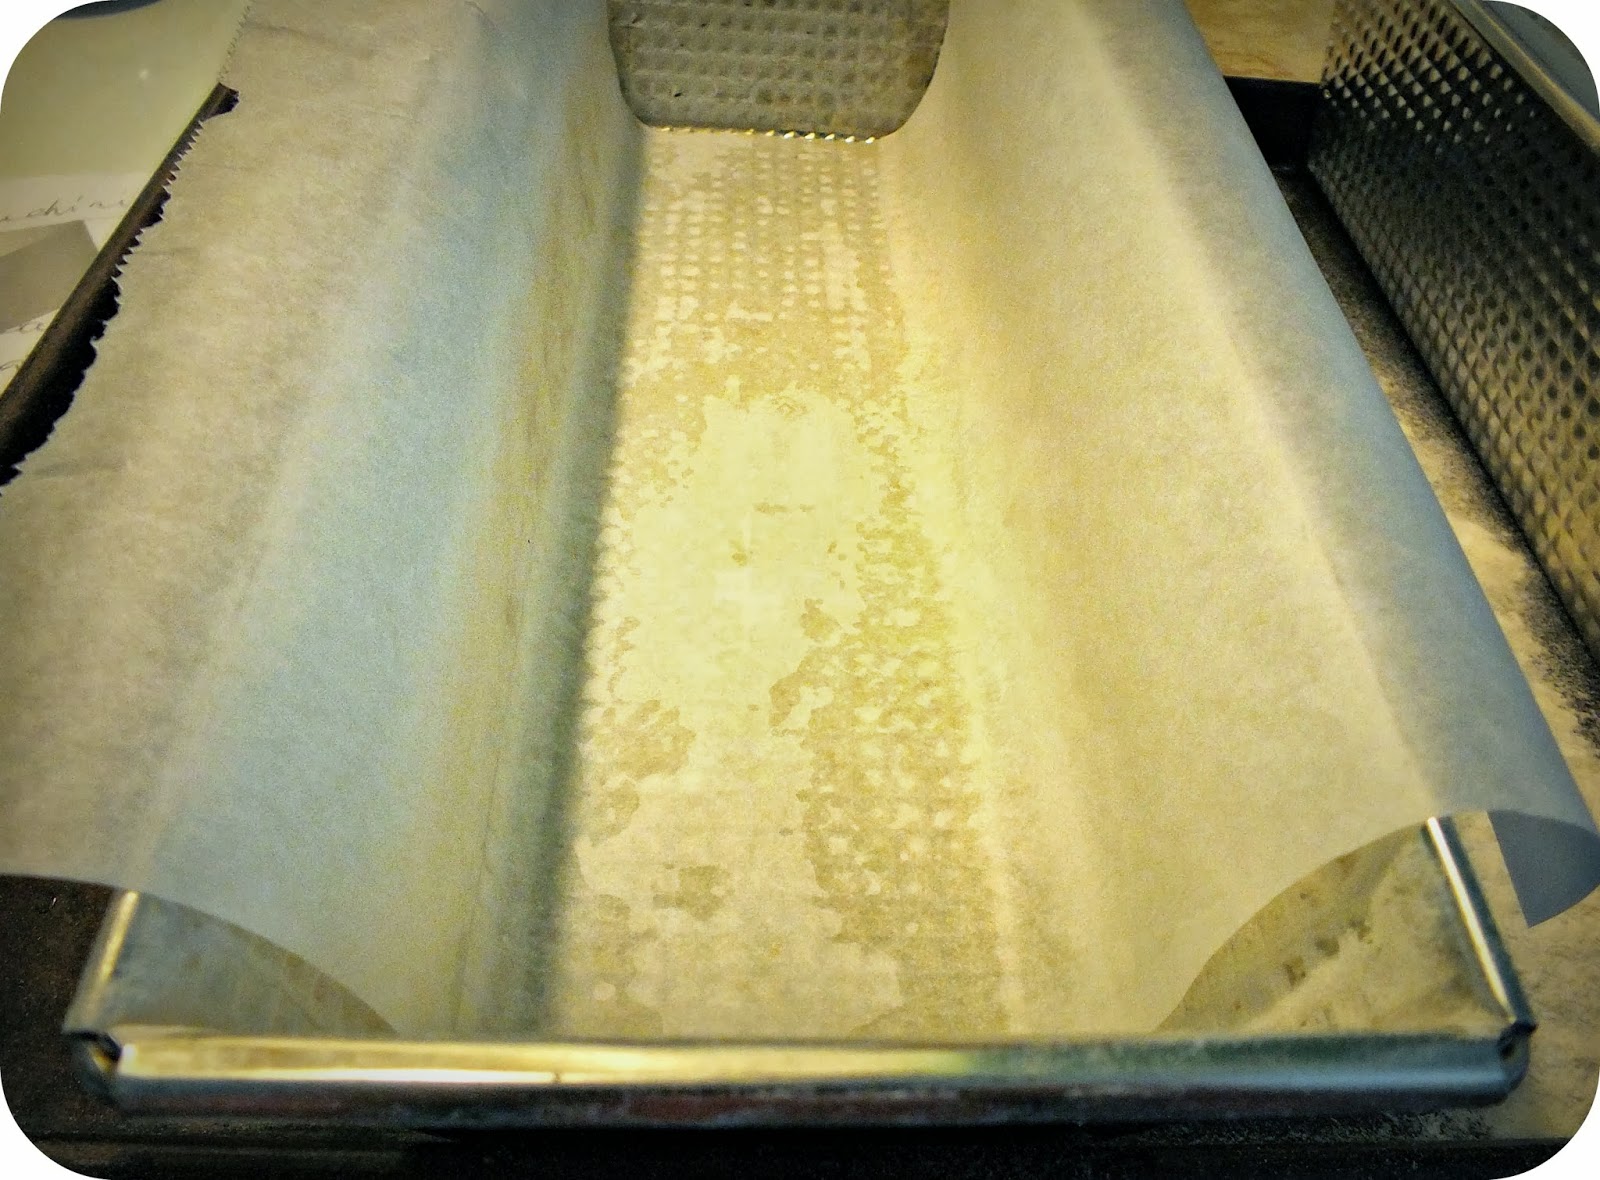
Oil and flour your pans and add parchment paper liners if you like them.
We started off making this recipe for Mom's Zucchini Bread but doubled and altered it to suit our tastes.

Ingredients:

Dry ingredients:
5 3/4 cups of white flour
3 tbsp ground flax seed
2 tsp salt
2 tsp baking soda
2 tsp baking powder
6 tsp cinnamon
2 cups of chopped pecans or walnuts

Wet ingredients:
6 eggs
2 cups of veg oil
4 cups white sugar
1/2 cup of brown sugar
4 tsp pure vanilla extract (or the scrapings from one large vanilla bean)
3 1/2 cups of grated zucchini
1 cup of grated fresh unpeeled washed pears
1/2 cup of chopped apricots

For topping:
1/3 cup of unsalted, shelled pumpkin seeds


I mixed all the wet ingredients together in a bowl. Sometimes I add substitute carrot or apple. Sometimes we add raisins or currants... It depends on what we happen to have a heap of. 


I mix the dry ingredients up in a separate bowl. I use walnuts or pecans, but you could use any nut you happen to have. I've also added bran to this recipe along with the flax seed. Remember to reduce the flour if you increase the flax or add bran. I figure I can always add more flour at the end of I need it.


I butter and flour the loaf pans and add a sheet of parchment paper that overlaps the sides of the pan to make taking the loaf out easier.

I mix the wet ingredients into the dry ingredients. Make sure you are using a super big bowl. This is a heap of batter! Just mix until the ingredients are blended. Some lumps are ok, you don't want to over mix!

Pour the batter in the bread pans and put the left over batter in a smaller pan. Now is the time to sprinkle the loaves with seeds or toppings. I bake all three together but take the smaller pan out after about 30 minutes or when a knife comes out clean. The larger loaves will bake from 45 minutes to an hour. Use the clean knife trick here too.


Here are two loaves without seed topping.....


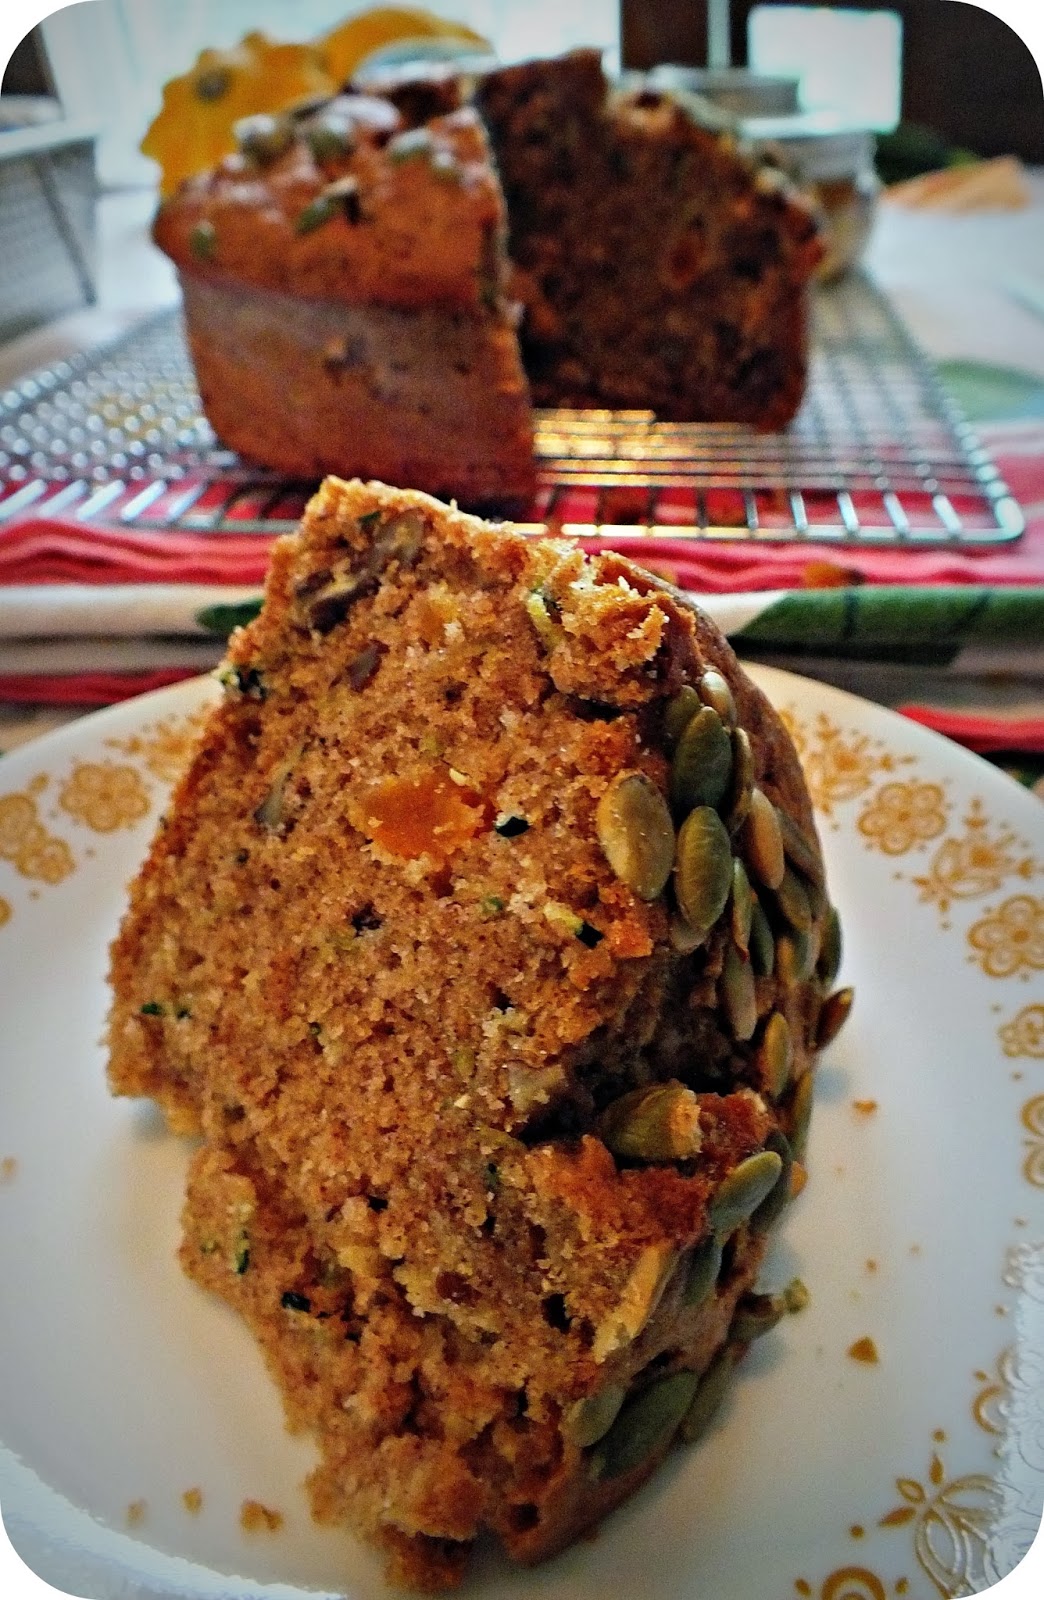
And here are two loaves with the pumpkin seed topping.
They are both delicious.
Hope you try your own version.
We can't seem to keep this in the house. It gets eaten almost as fast as I can bake it.

Saturday, September 14, 2013

Even More Delicious Autumn Pair Fixin's

We were gifted with even more delicious fall pears. A different variety then last week, but just as delicious and ripe. Here are a few of the things we've done with them so far.

These guys are a little bit bigger and have very yellow skin. They are very juicy and have delicate white flesh.


This is Pear and Jalapeno Chutney. It smells of Christmas, all cinnamon and ginger, but it's the hottest preserve I've ever tried. Can't wait to see what happens to it after it sits for a few months.


The pears were so ripe I really couldn't stew them without them falling apart. So I just poured a sugar syrup infused with cloves and ginger and a few chai tea bags. There are also some dried berries thrown in just because I had them.


This is the stewed pear and peach salad. It's just in a simple sugar syrup, but they're delicious just the same. These are just out of the caner and you can still see the bubbles rising up from the syrup boiling.


I made some more pear and zucchini bread. That's six giant loaves so far. I love it the most the next day, sliced thick and reheated in the toaster with butter and sharp cheddar. So delicious! I'll be sharing our recipe for pear and zucchini loaf this weekend too so stay tuned.

Friday, September 6, 2013

Delicious Autumn Pairs..... What to do with them?

We've been gifted with a giant box of these little gems. 

They're delicious and juicy and need to be used right now! 
But what do you do with a heap of ripe pairs?


We made pair and peach crumble. They were delicious!


Then I decided to try some pear preserves. The kids found the recipe on the interweb and told me what to do. I followed their direction and ended up with 11 gorgeous jars of 
pearsomethingorother. 
Not sure what to call it. 
It's a bit loose to be a jam.... and a bit to firm to be a sauce..... 
Any suggestions what I should use it for?

What would you make with a heap of pears?
I would love to hear your ideas?

Wednesday, September 4, 2013

Latex Scar Prosthesis Lesson

Here is a very basic tutorial on building stitched scars. 


Materials List:

Plexiglas Sheet, ceramic tile or ultra smooth, portable work surface
Plasticine
Inexpensive soft paintbrushes (you'll probably ruin them and throw them out)
Corn starch
Opaque foundation that matches whoever is going to wear the finished scar
Heavy black thread and a sewing needle
Fake blood


I made a worm of plasticine and smoothed the sides of the worm into the work surface with my fingertips. I dragged a sculpting knife all the way down the high point of the worm to create a gully. I made a "Y" shaped scar, but you can make any shape you'd like. I used a soft paintbrush to coat the scar with the Mold Builder. I gave the scar a one inch border of latex that will taper onto my skin when I apply the scar later. I gave the scar another five coats of Mold Builder and let each coat dry completely before applying the next. Make sure to wash the paintbrush out immediately with warm soapy water. If you leave it too long the latex will set in the brush and you'll never get it out. I bought six inexpensive brushes so I wouldn't be bothered if I ruined them.


After all six coats have been applied and are dry, I dusted the whole scar with some corn starch to seal the piece and prevent the piece from sticking to itself when I peel it off the work surface. The corn starch also helps the makeup to stick.


I added a wee bit of opaque foundation and dusted it with cornstarch again to set it. This is just a base coat and it will be scratched up when I apply the piece, but it will help with building depth in the finished look.


I sewed through the two edges of the scar with the black thread. I tugged gently to create a bit of puckering. Dip the sewing needle into the cornstarch before each stitch to help the needle go through the latex more smoothly.


I added some fake blood to see if the piece looks convincing, but I would leave this step out until I have applied the piece. I just wanted to see if the design needed any tweaking. I think it'll do! I'll post a tutorial on how to apply the scars closer the Halloween. I'll be using spirit gum to apply the piece and I'll show how to blend the edges of the piece into your skin.