
I've been playing with many different ways to make flowers lately, and wanted to share this step by step pictorial tutorial. It's pretty much the same method I've covered in the video here, but the clay in this tutorial is a bit firmer.

I love the translucent shimmer of the STAEDTLER Fimo Effect Rose Quartz colour #206
I filled my metal bezel with a dome of #305 pastel aqua and baked it in a preheated 230 degree oven for 20 minutes and allowed it to cool before I made the leaves and flower. I then used #505 pastel mint to make green flattened teardrop shapes and flatten them out with a soft but firm round paintbrush. A number 4 or 6 will work best and I like to use the Heinz Jordan Synthetic mongoose brushes. I used a toothpick to draw lines in the leaves and baked the piece again for another 15 minutes to set the leaves. Be sure to allow the piece to cool after baking.

Next I made little worms of very soft clay and placed a worm onto the back piece where I wanted my first petal. I used the paintbrush to flatten out the inside of the petal and give it some texture. I added four petals to this back row of petals and had them just overlap at the beginning and end of each petal. You can also see that I've completely covered my leaves. Bad planning on my part. I can make more leaves farther out, after the rose is done. I baked the piece once again in a preheated 230 degree oven for about 15 minutes and allowed it to cool. Baking the piece between petal layers helps to keep the detail. If you don't bake each step there is a risk that you'll destroy your previous work with each new layer.

I moved onto the next petal layer. These petals are made exactly the same way I made the previous layer but they are smaller.

They are also slightly offset from the first layer. The middle of the second layer petal will be where the previous layers petals end and begin. They overlap each other more than the previous layers too.

When you've completed this layer of petals bake it for 25 minutes to set them. Let the piece cool before moving on.

I make a dot of clay for the middle of the flower and use the tip of my brush to push a hole into the clay making a hollow spot.

I separated this first hollow dot into two petals with the tip of my brush and added another dot in the middle of it. I hollowed out this second dot with the tip of my brush also.

The final touch to the rose is to add a teeny dot of clay to the very middle.
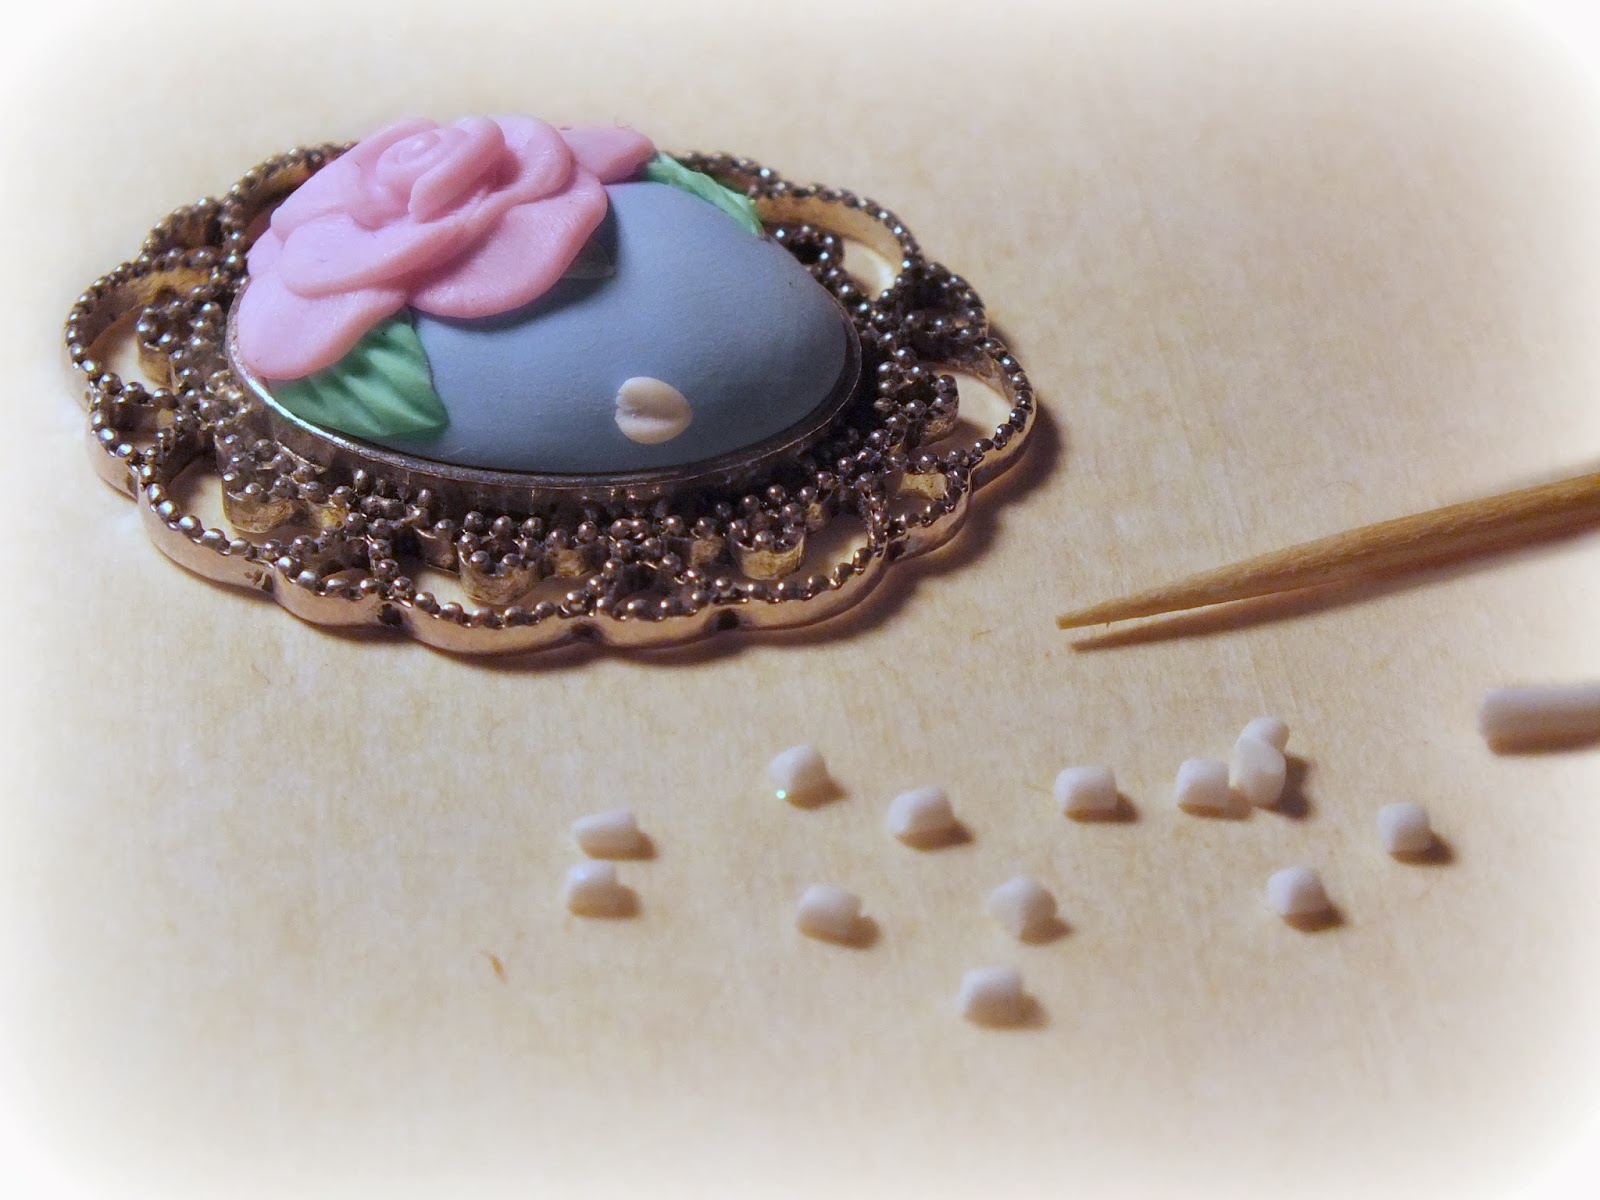
I used the white glitter Fimo to make teeny petals the same way I made the leaves. I used a toothpick to push these teeny petals onto the piece.
Bake the piece again in a preheated 230 degree oven for another 20 minutes.

And you're done!
I've been making roses like this for years using acrylic nail art materials.

I translated the technique to polymer clay a few years ago for PolymerCafe magazine February 2011 with these faux metal pieces. I've been playing with more colour lately though.
Can't wait to show you more.
Soon.
No comments:
Post a Comment